Absolute Beginner's Guide to Setting Up a Home Pottery Studio in the UK

Every home studio begins with the same three questions. Where will the clay live? Where will the dust go? And who is going to fire the pots?
Answer those before you spend a penny and you sidestep the classic beginner's trap: buying a wheel, filling a shed with clay, then discovering there is nowhere to fire anything within reasonable driving distance.
Start with the room, not the shopping list
Walk into your garage, shed, utility room or spare bedroom and look at it as a potter rather than a homeowner. You need a surface you can wipe clean, a floor that does not trap dust, decent light, and some way of getting water in and slops out. Carpet is the enemy: clay dust settles into it and stays there.
A corner of a utility room is fine for hand-building. A wheel is messier — it throws trimmings, splashes and slurry — so give it more space than you think you need, ideally on a hard floor with a bucket nearby. If your space is unheated, remember that clay does not enjoy frost, and neither do your hands in February. A small heater makes winter throwing far more appealing.
The kit you actually need
Ignore the glossy starter bundles for a moment. Here is what genuinely earns its place:
- A wheel, or a sturdy table at a comfortable height if you are hand-building first
- Two buckets — one for clean water, one for slops
- Plaster bats or wooden boards for drying work
- A cutting wire, a sponge, wooden ribs, a needle tool and calipers
- Kitchen scales, for weighing clay consistently
- Lidded bins or crates for clay and reclaim
- An apron, old towels and a notebook for glaze and firing records
- An FFP3 mask, for any dry clay, mixing or cleaning work
- Shelving, so greenware is off the floor and out of the way
Buy secondhand where it makes sense. Wheels from a reputable dealer or a local pottery group are often better value than a cheap new one, provided the wheel head runs true and spares are still available. Skip anything you cannot test before paying.
Clay and how to keep it workable
In the UK you will mostly meet three families of clay: low-fire earthenware, mid-range stoneware and high-fire porcelain. Choose according to how you intend to fire, not according to colour. A beautiful stoneware is useless if your only kiln access tops out at earthenware temperatures.
Store clay in its original bag or a sealed plastic crate, somewhere frost-free and out of direct sun. A damp cupboard — a lidded box with a wet towel or brick inside — keeps part-used clay soft for weeks. Write the clay name and firing range on every bag and tub; bags look identical once they are open.
Reclaiming scraps is worth the effort. Slake them in a bucket of water, spread the slurry on a plaster bat to dry, then wedge it back into usable clay. Never pour clay slops down the sink. They set like concrete and will block your drains.
Ventilation, dust and staying safe
Dust is the real issue in a home studio. Fine clay and glaze dust contains crystalline silica, and repeated exposure is a genuine health risk. The good news is that it is entirely manageable with wet habits: clean surfaces with a damp cloth, never dry sweep, keep a bucket of water to rinse tools, and seal waste in bags before binning it. Wear an FFP3 mask whenever you handle dry clay, mix glaze or do a deep clean, and wash your hands before you eat or drink anything.
Firing brings a second consideration. Kilns release fumes and carbon monoxide as organic matter burns out, and glaze ingredients can vaporise. A kiln belongs in a garage or outbuilding with ventilation, not in a bedroom or living space. An extractor hood vented to outside, or a kiln with an extraction system, is the usual solution — but if you are unsure, take advice from a specialist kiln supplier or a qualified ventilation engineer.
Electrics matter too. Kilns draw serious current and normally need a dedicated circuit. Have it installed by a registered electrician, and check whether the work needs notifying under building regulations in your part of the UK. Do not improvise with extension leads.
Getting your work fired
Owning a kiln is the most expensive route, and it is rarely the first step. The alternatives are excellent:
- Kiln share — split the cost of firings with another potter nearby
- Local firing service — many studios and suppliers will fire your bisque or glaze work for a fee
- Community studio membership — access to a kiln, and often a wheel and glazes too
- Evening classes — a cheap way to learn firing schedules before committing to your own kiln
Decide your route early. It shapes which clay and glazes you buy, and it saves you making forty pots that never reach temperature.
Where to buy supplies in the UK
Established names include Potclays and Valentine Clays in Stoke-on-Trent, Bath Potters' Supplies in Somerset, CTM Potters Supplies in Kent, Clayman Supplies in East Sussex, Hot Clay in Kent and Scarva in Northern Ireland. Most deliver clay on a pallet, which is worth knowing before you order fifty kilos to a terraced house.
Kiln brands you will see recommended in UK pottery circles include Rohde, Nabertherm and Cromartie, but the used market is where many hobbyists start. Check local pottery groups, guild noticeboards and auction listings, and factor in installation, wiring and a spare thermocouple or set of elements before you commit.
Your first week in the studio
- Cover the floor with something mop-able and set up your slop bucket before any clay appears.
- Weigh out a couple of kilos and make something small and unambitious. Learn the feel of the clay.
- Cover your work properly at the end of each session, so it dries slowly and evenly.
- Clean up wet, every single time. Ten minutes now is worth an hour later.
- Confirm your firing route before you build a shelf full of greenware.
Get the room, the dust control and the firing sorted and everything else is just practice — which is the enjoyable part anyway.
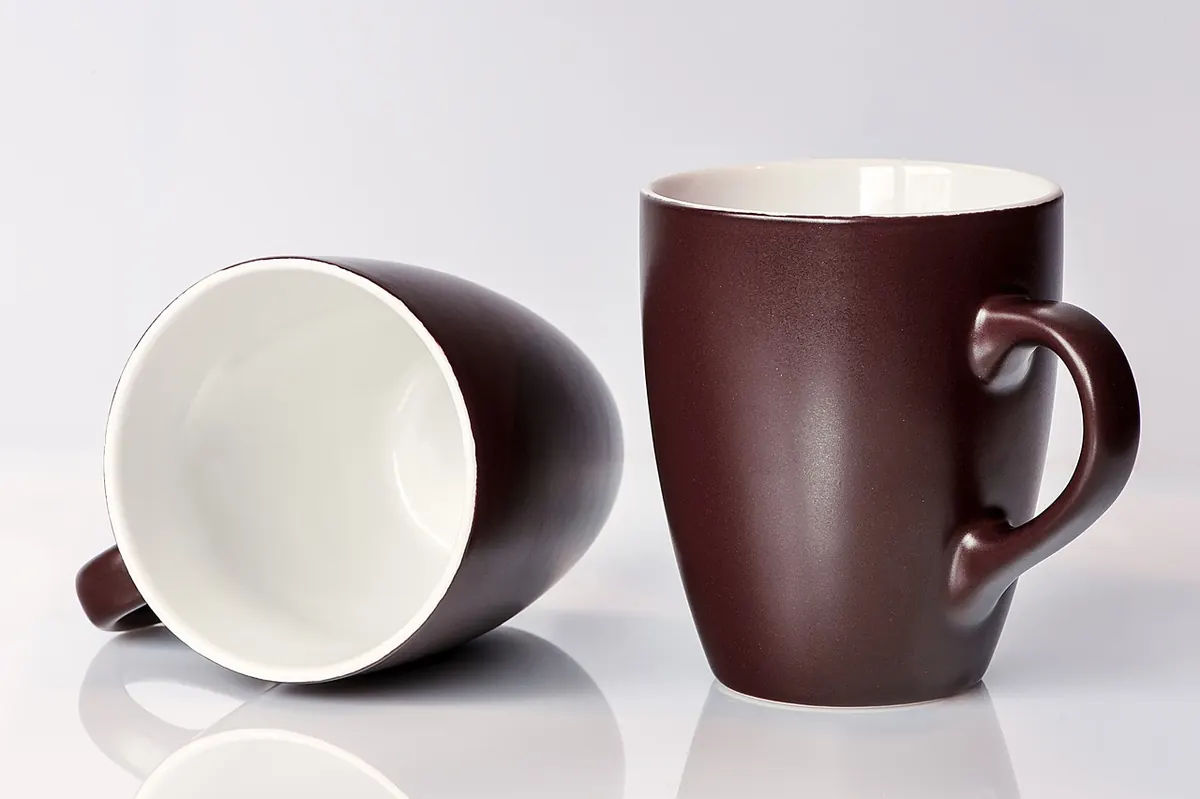
Photo: Dragon77 / Pixabay